Apothecary Drawers
(2020-10-31)
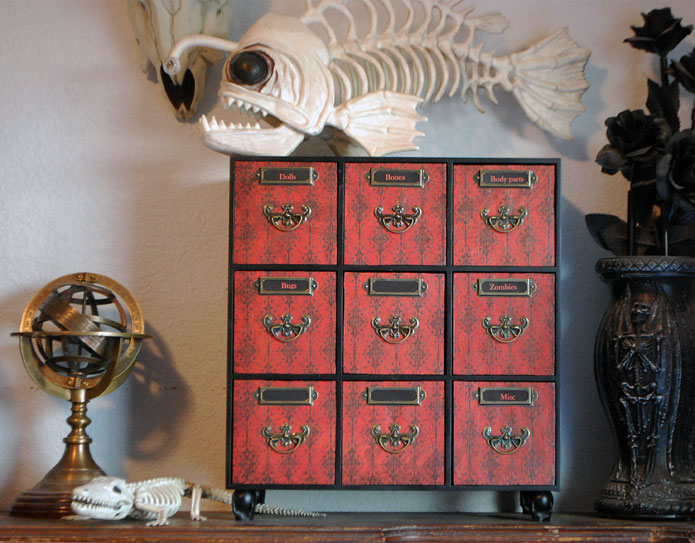
A distressed set of drawers gets a major vampire apothecary makeover.
While cleaning out a shed I found an distressed pressboard/particleboard drawer unit in a apothecary style with a spring color theme. Purchased new from some craft store many years ago, it was falling apart and desperately in need of a makeover!

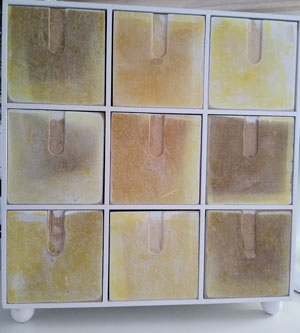
First I cleaned off the cardboard and fabric on the face of the drawers and gave them a quick sanding. Next, the front of the drawers, and any scuffs on the body received a base coat of primer. I used gesso because the original plan was to paint some drawers with acrylic paint, and I was thinking to leave it white. In the end I did decoupage so a spray primer would be fine.
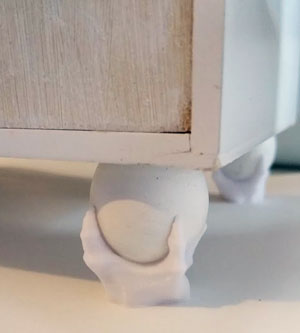
I knew immediately I wanted to change the legs and my mind went to my newest toy, a 3D printer. I wanted a clawed foot so I went to thingiverse.com. I searched for "claw foot" and found a lion paw, but then I saw the eagle claw around a ball (which is what the current feet are) and decided it was perfect. I changed my search to "claw ball" and found this gem on the last page https://www.thingiverse.com/thing:3667381. This was perfect because on my 3D printer I can lower the print so that it cuts it off and only prints the claw part, not the bracket. I used my Caliper to get the measurement of the existing ball on the foot, adjusted the 3D file size and then printed a test. It was close but I printed once more for a nicer sit in the claw. They are attached with super glue. For those interested in 3D printing, info is listed at the end.
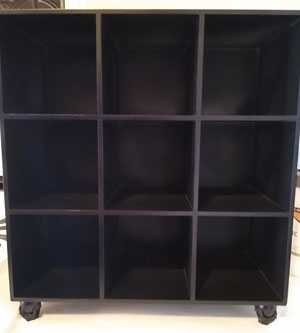
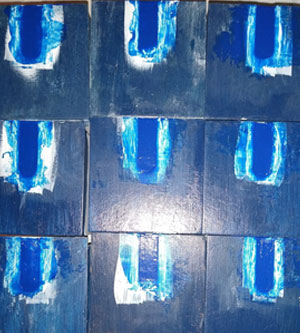
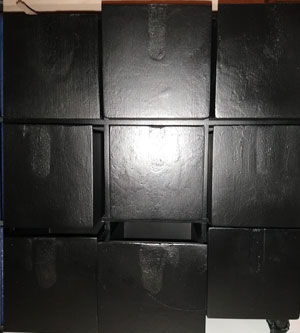
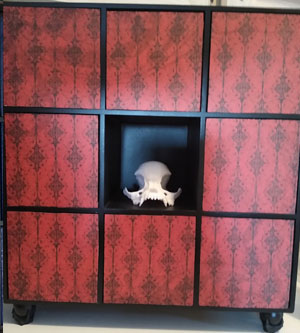
I painted the shelf part black. For the drawers I knew I wanted them to be flat thus, I filled those in with joint compound sanded smooth. I painted the drawers blue first, in the the end they were black. But gee whiz I painted those drawers WAY too many times, the base white coat of primer would have been more than enough since I covered it in paper...
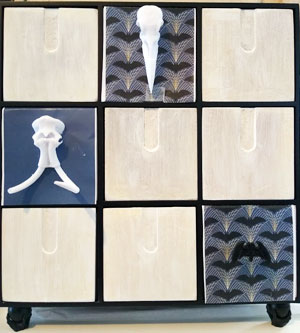
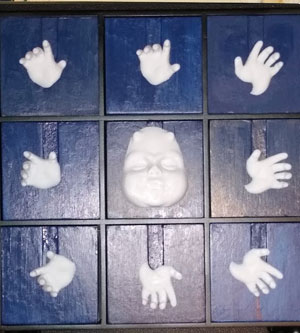
Here are a few other ideas I had mocked up for the design, though in the end I decided on a more red/vampire bat theme. The skulls and baby elements are also 3D printed. Demon Baby Halloween Prop, Thingiverse Skulls, Sketchfab Skulls
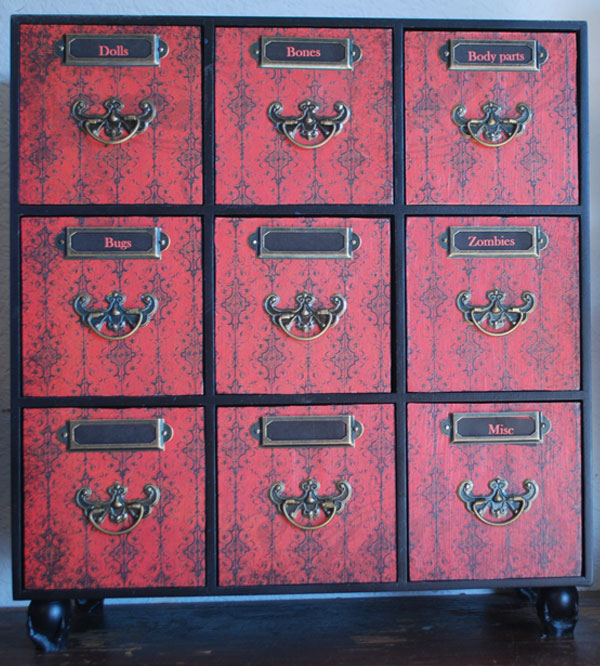
After a design was chosen I painted the drawers black. Next, I used a scrapbook paper to decoupage the drawers. I carefully measures and cut each piece for each drawer to get the designs lined up properly. I believe I used a light coat of mod podge on the drawers first then I put the paper on. If I had bubbles using the painters knife and flattened, moved and adjusted it while it was still tacky. I did have to watch them a bit at first as I had two corners try to kind of come up while still wet, I think I used too much glue. After they dried for a few days I put a coat of matte Mod Podge to protect the paper.
I already had the label holders and nails. The nails were a LOT of work, those bat handles had 6 each! And after bending a few I decided to pre-drill holes about 1/2 way before doing any hammering. The nails did stick through so I cut them down with snips and covered with a drop of glue stick.
For the actual labels I just printed them on paper and cut to size. I am playing around with the idea of dry brushing a gold onto the clawed feet but for now here is the final product.
3D Printing: If you're interested in 3D printing all I can say is DO RESEARCH first. There are a lot of variables that go into deciding on equipment and printing better prints. Here I used a Qidi x-one2 printer with Dikale white PLA. If you don't already know Thingiverse and SketchFab are just a couple of many websites that provide free 3D print files for many projects. Each site has its pros and cons. Often I search on google images for a "free STL itemname" to find different files.
Project Resources Actually Needed:
I may have taken steps or fabricated items not used in the final product and will NOT list those resources here. Any links are just FYI so you know what I used and where I found them. None of these products are sponsored, nor are they affiliated links.